
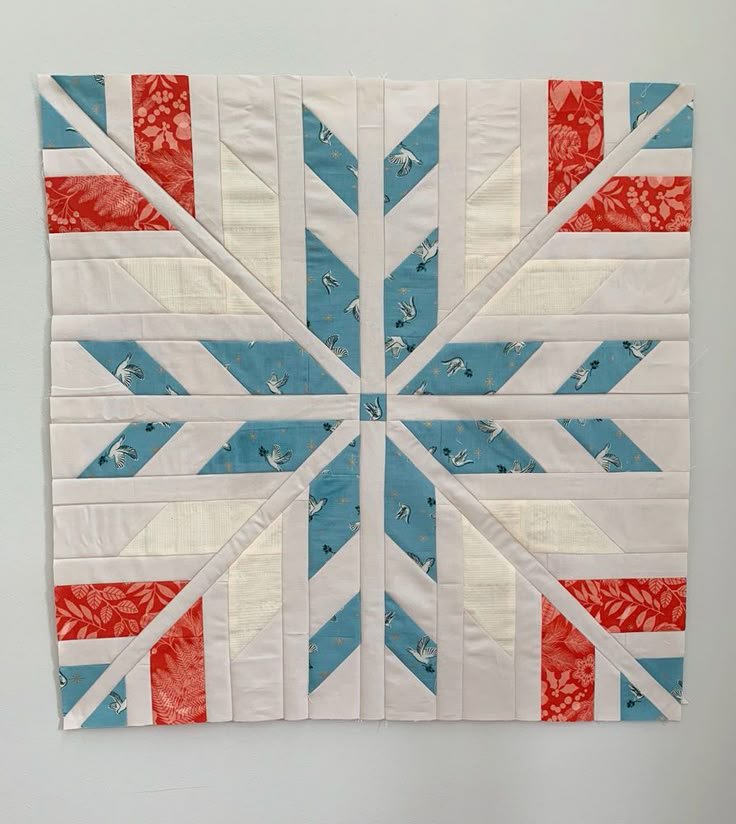
If you’re looking for a creative, relaxing, and satisfying sewing project, this Homebound Quilt Pattern Tutorial is the perfect choice. Designed for beginners and experienced quilters alike, this guide will walk you through each essential step to create a cozy and beautiful quilt for your home. Whether you want to make a heartfelt gift or add a handmade touch to your décor, following this Homebound Quilt Pattern Tutorial will inspire and guide you.
Quilting has long been a beloved tradition that blends art and functionality. With the Homebound Quilt Pattern Tutorial, you’ll not only learn how to stitch together fabrics, but also how to combine colors, patterns, and textures to create something unique. This tutorial emphasizes simplicity without sacrificing beauty, ensuring that even first-time quilters can succeed.
Throughout this article, you’ll discover practical tips, step-by-step guidance, and insights that will make your quilting journey enjoyable and rewarding. Let’s dive into this Homebound Quilt Pattern Tutorial and explore how you can turn fabric pieces into a cherished masterpiece.
1. Choosing the Right Materials for Your Homebound Quilt
Selecting the appropriate materials is one of the most important steps in this Homebound Quilt Pattern Tutorial. The fabric choices you make will determine the look, feel, and durability of your quilt.
Start by opting for 100% cotton fabrics, which are soft, breathable, and easy to work with. Cotton holds stitches well and washes beautifully over time, making it a favorite among quilters.
When picking fabrics, consider the color scheme and pattern. Solid colors provide a classic touch, while prints can add personality and flair to your quilt. For the Homebound Quilt Pattern, combining both solids and prints can create a balanced and eye-catching design.
Don’t forget the batting, which is the filling that gives your quilt warmth and texture. Cotton or cotton-blend batting is ideal for most Homebound Quilt Pattern projects.
Thread selection is another key factor. Choose a high-quality cotton or polyester thread that matches or complements your fabric colors. This will ensure clean seams and strong stitching.
Finally, gather essential tools such as rotary cutters, quilting rulers, pins, and a reliable sewing machine. With these materials ready, you’re set to begin your Homebound Quilt Pattern Tutorial with confidence.
2. Cutting and Arranging Your Quilt Pieces
Precise cutting and thoughtful arrangement are crucial elements of this Homebound Quilt Pattern Tutorial. Taking your time in this step will help ensure a neat and professional-looking quilt.
Begin by washing and ironing your fabrics to prevent shrinkage and eliminate wrinkles. This will make cutting more accurate and easier to manage.
Using your quilting ruler and rotary cutter, carefully measure and cut the fabric pieces according to your pattern instructions. Consistency is key to achieving uniform blocks that fit together seamlessly.
Once your pieces are cut, lay them out on a flat surface or design wall. This allows you to experiment with different layouts and color arrangements before sewing.
Pay attention to the balance of colors and prints. The Homebound Quilt Pattern Tutorial encourages creativity, so don’t be afraid to rearrange your pieces until you’re happy with the look.
Take a photo of your final arrangement. This will serve as a handy reference when you start sewing the quilt top together. Keeping track of your design will help avoid mistakes during assembly.
3. Assembling and Sewing Your Quilt Top
In this stage of the Homebound Quilt Pattern Tutorial, you’ll start bringing your quilt to life. Careful assembly and sewing will create a polished quilt top that you’ll be proud of.
Begin sewing your fabric pieces together in rows, aligning seams as accurately as possible. Use pins or clips to hold pieces in place and prevent shifting.
Press the seams as you go. Pressing toward the darker fabric helps prevent shadowing, which occurs when a darker fabric shows through a lighter one.
Continue assembling rows and sewing them together to complete your quilt top. The Homebound Quilt Pattern Tutorial recommends working slowly and checking your alignment often.
If you’re adding borders, measure carefully and sew them on after the quilt center is complete. Borders frame your quilt and add a finished touch.
Once the quilt top is finished, give it a final press. Your hard work in this stage will ensure that the quilt layers align perfectly when it’s time for quilting.
4. Quilting and Binding Your Homebound Quilt
The final step in this Homebound Quilt Pattern Tutorial is quilting and binding your project. This is where your quilt truly comes together as a functional and beautiful piece.
Layer your quilt by placing the backing fabric right-side down, the batting in the middle, and the quilt top right-side up. Smooth out any wrinkles and baste the layers together using safety pins or temporary spray adhesive.
Decide on your quilting method. You can choose simple straight-line quilting, free-motion quilting, or even hand quilting depending on your style and skill level.
Sew through all layers, starting from the center and working outward to prevent bunching. The Homebound Quilt Pattern Tutorial encourages using gentle, steady movements for even stitches.
Once quilting is complete, it’s time to trim the edges to square up your quilt. Use a ruler and rotary cutter for clean, straight edges.
For the binding, cut strips of fabric, join them into one long piece, and fold in half lengthwise. Sew the binding to the quilt’s edge, fold it over, and hand-stitch it to the back for a neat finish.
Admire your finished quilt! The effort and care you put into following this Homebound Quilt Pattern Tutorial have resulted in a beautiful handmade creation.
FAQ: Homebound Quilt Pattern Tutorial
What size is the Homebound Quilt Pattern?
The size can vary based on your design, but typically a lap quilt measures around 50″ x 65″. You can easily adjust the size by adding or removing rows and columns of blocks.
Is the Homebound Quilt Pattern suitable for beginners?
Yes! This Homebound Quilt Pattern Tutorial is beginner-friendly. The steps are straightforward, and the design allows for flexibility with fabrics and colors.
How long does it take to complete the quilt?
The time depends on your pace and schedule. On average, a weekend of focused sewing can complete the quilt top. Quilting and binding may take additional days.
What fabrics work best for this pattern?
100% cotton fabrics are highly recommended. They are durable, easy to sew, and give a clean finish, making them ideal for this pattern.
Can I quilt by hand instead of using a machine?
Absolutely! The Homebound Quilt Pattern Tutorial works well for both machine and hand quilting. Hand quilting will take longer but can add a lovely, personal touch.
Do I need any special tools to follow this tutorial?
Basic quilting tools like a rotary cutter, ruler, pins, and a sewing machine are helpful. A design wall or large flat surface is also useful for arranging pieces.
PATTERN HERE
This Homebound Quilt Pattern Tutorial has provided you with detailed steps to create a beautiful quilt from start to finish. From choosing fabrics to binding your completed quilt, each stage offers an opportunity to express your creativity and build new skills. I hope this guide has inspired you to start or continue your quilting journey. Please feel free to leave your honest feedback and share any suggestions or ideas for future tutorials. Your input helps make this quilting community even stronger!